The Trezor Model T is a cryptocurrency hardware wallet created by SatoshiLabs Group. Released in March 2018 with the latest firmware update in April 2023, the wallet features a new operating system tagged Trezor Core. This enables faster development of features and smooth coin support. This article is a guide on how to set up your Trezor Model T.
To buy your Trezor Model T, click here.
You can also set up your device with my step-by-step video below.
Trezor Model T Packaging
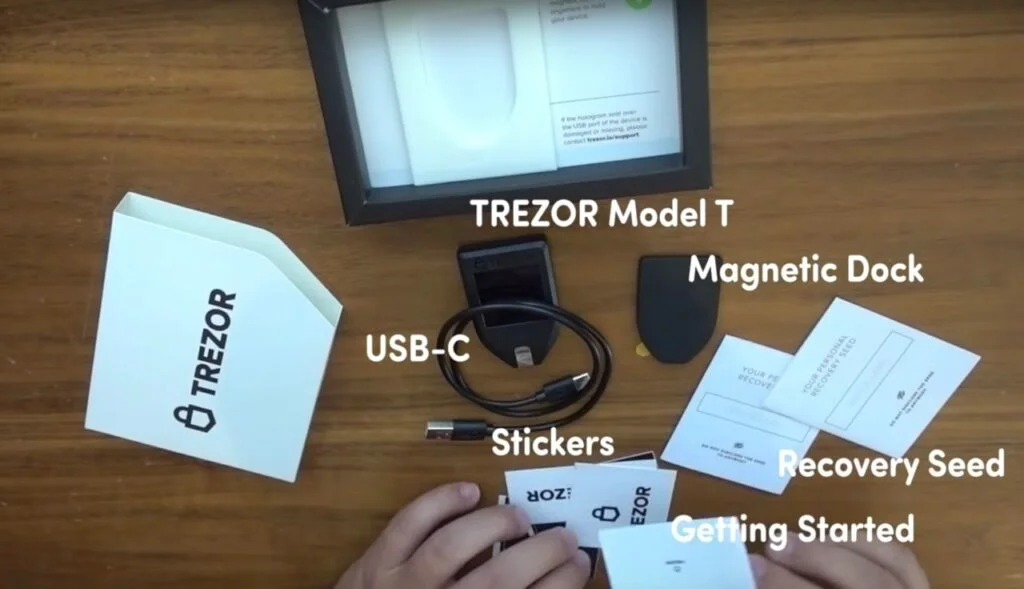
This premium model costs 249 Euros (US$252). The Trezor Model T comes as a special kit, it contains the Trezor Model T device, magnetic dock, USB type C cable, stickers, user guide and recovery seed.
Trezor Model T Installation Guide
Installation is smooth with the aid of the user guide. Their website also has a web assistant to guide you through the installation steps.
Notably, you have to be careful in the entire process to avoid leaking your private keys and recovery phrase. Leaking your private keys or recovery phrase opens you to serious risk by hackers to steal your coins.
For complete security, ensure the area where you are setting up your Trezor Model T is completely camera free including sealing your computer’s webcam.
The Model T device comes with a hologram seal that you have to peel off to plug in to your PC.
If you don’t see this seal or it looks different to the one pictured, do NOT proceed with the set up and contact Trezor support immediately.
Connect the Trezor Model T and your computer using the USB type C cable provided.
Download and Install the Latest Firmware
The next step is to download and install the latest firmware.
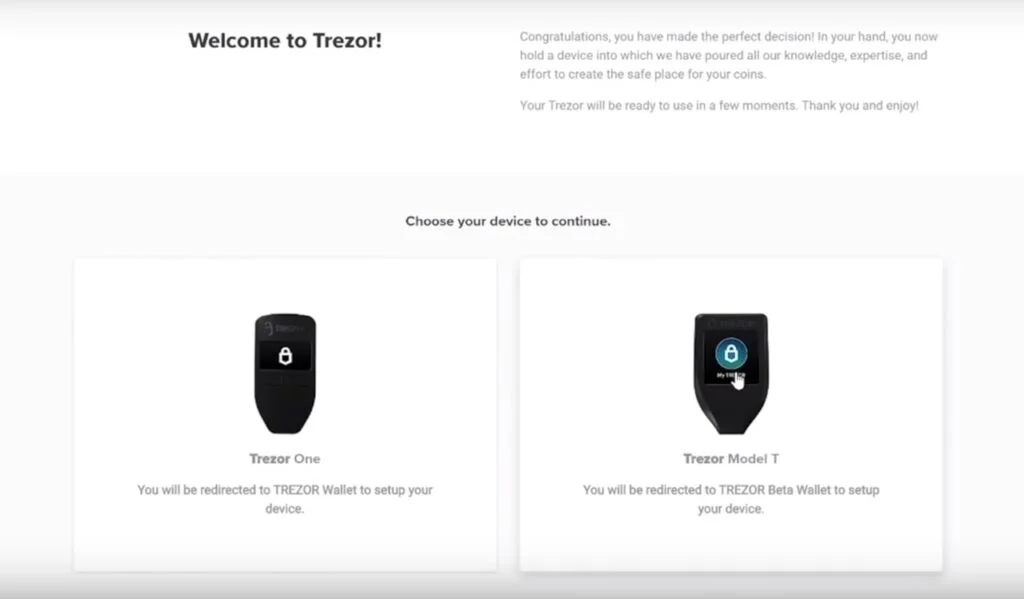
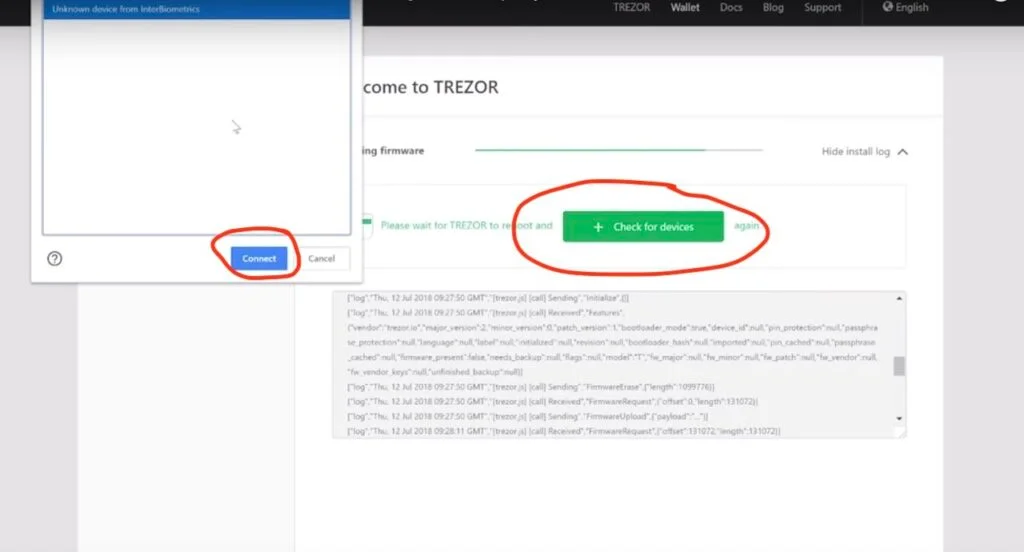
On the website, click “Check for devices” and connect to the “Unknown device from InterBiometrics”- this is actually your Trezor.
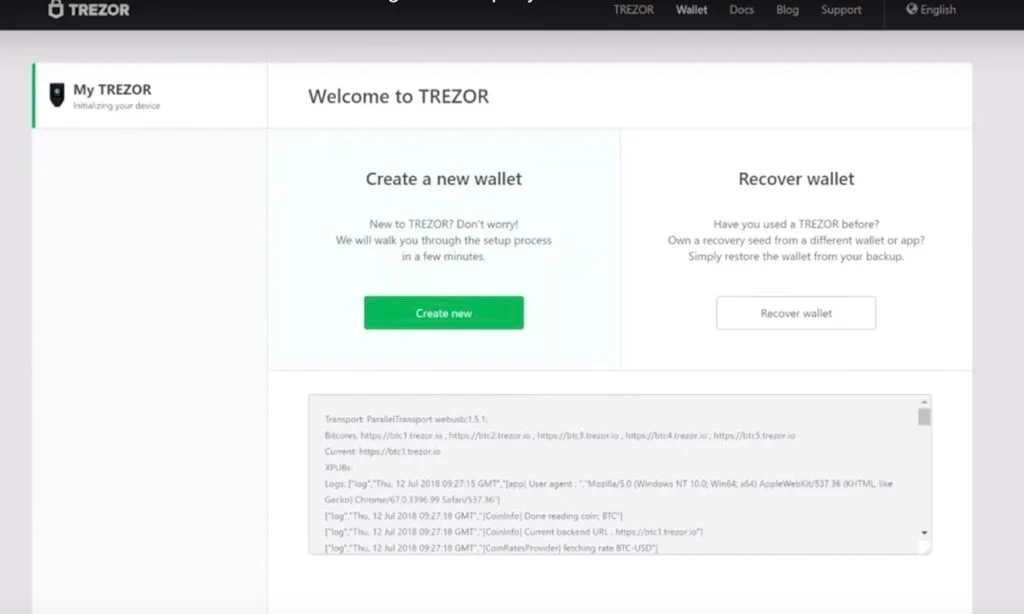
Afterwards select the option “Create a new wallet”. This will be proof that the wallet is unused.
Create a Backup of Your Trezor Model T
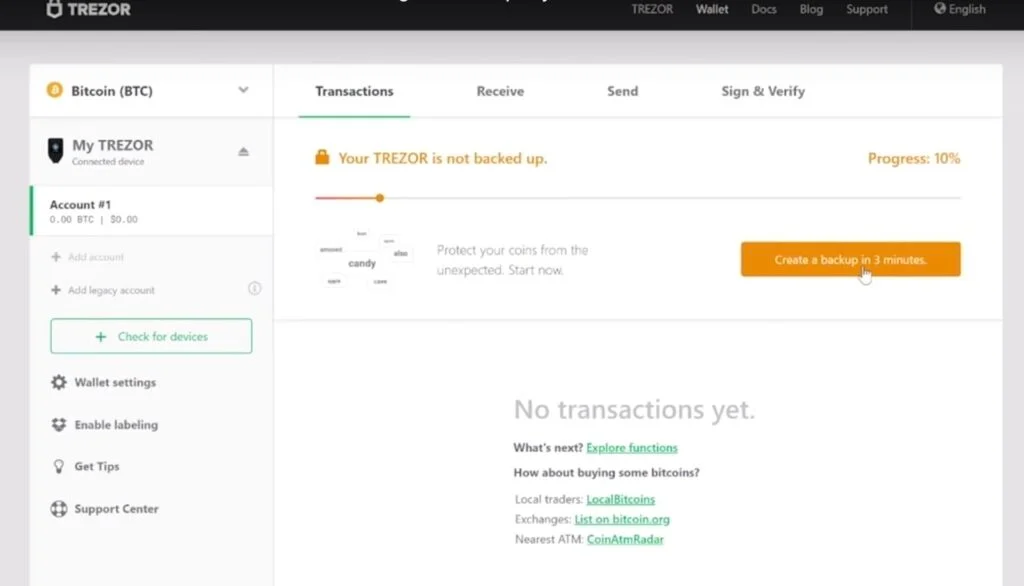
The penultimate step is to create a back up. The wallet generates recovery words which are in a specific order. Write down those words in the same order on the piece of paper provided with your Trezor Model T.
This is known as your recovery seed.
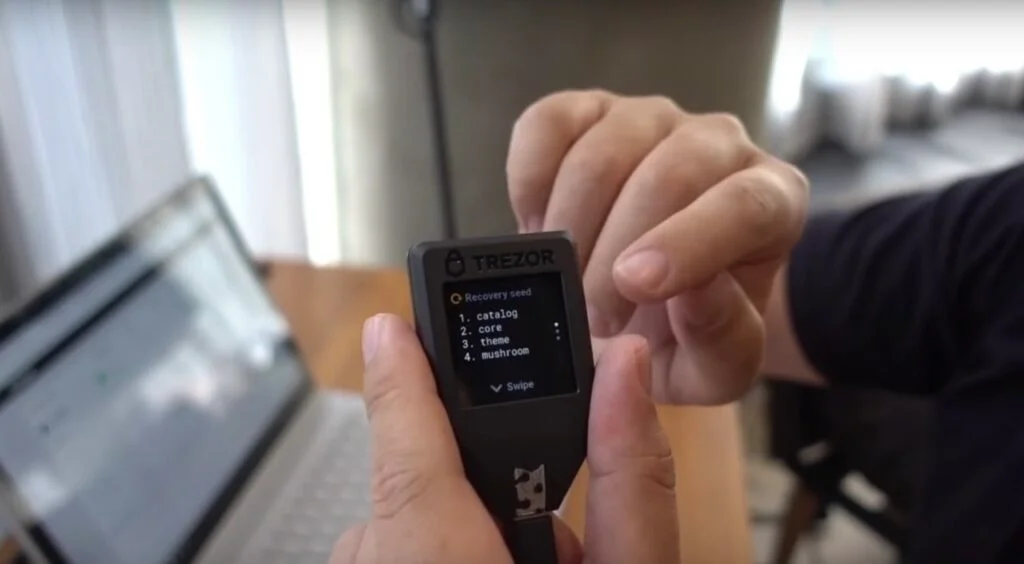
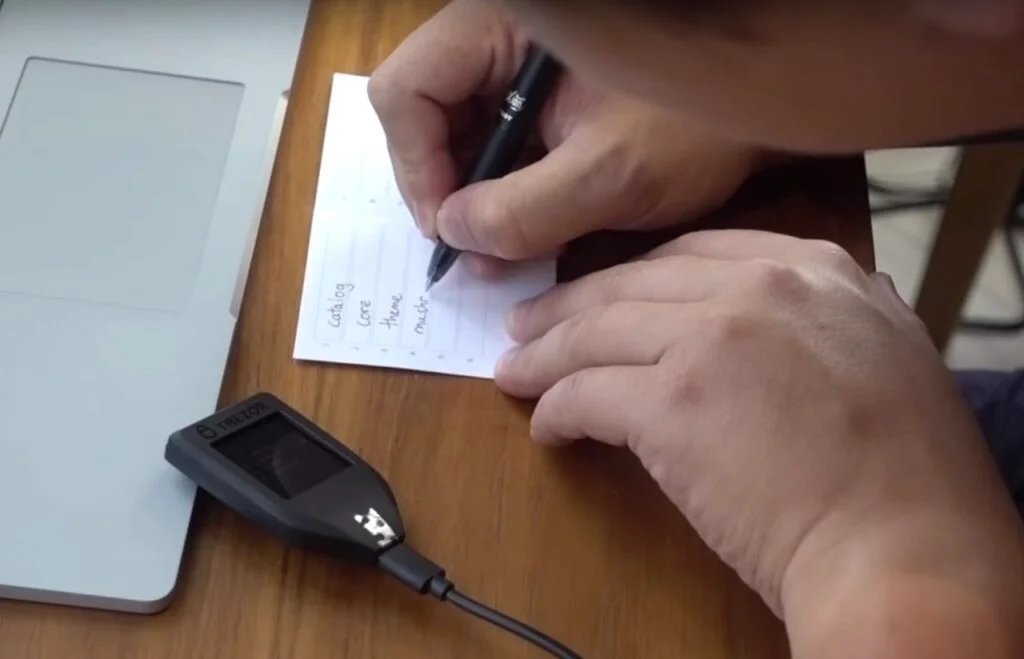
IMPORTANT: do not take a photo of your recovery seed, or upload it onto your computer or online.
This is because you use your recovery seed to restore your funds on another Trezor if you lose your phyiscal device. Conversely, this means that any thief can do the same if they obtain your recovery seed.
Create a New PIN Code
Lastly, set a 4 to 50-digit PIN code which you will use to unlock your Trezor every time before using it.
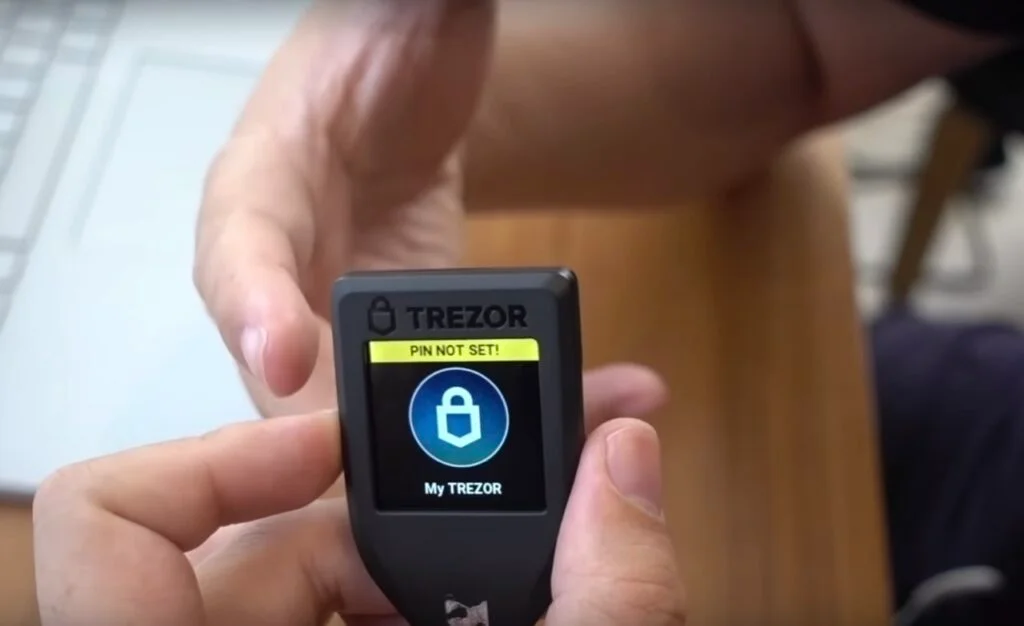
This concludes the set-up process, meaning you’re good to go. It goes without saying that at all times, be extra vigilant to ensure you don’t expose your keys or recovery seed. This is to ensure your wallet is secure.
Using the Trezor Model T
The wallet offers a range of coin options for trading. They include; Dash, Bitcoin, Bitcoin Cash, Bitcoin Gold, etc.
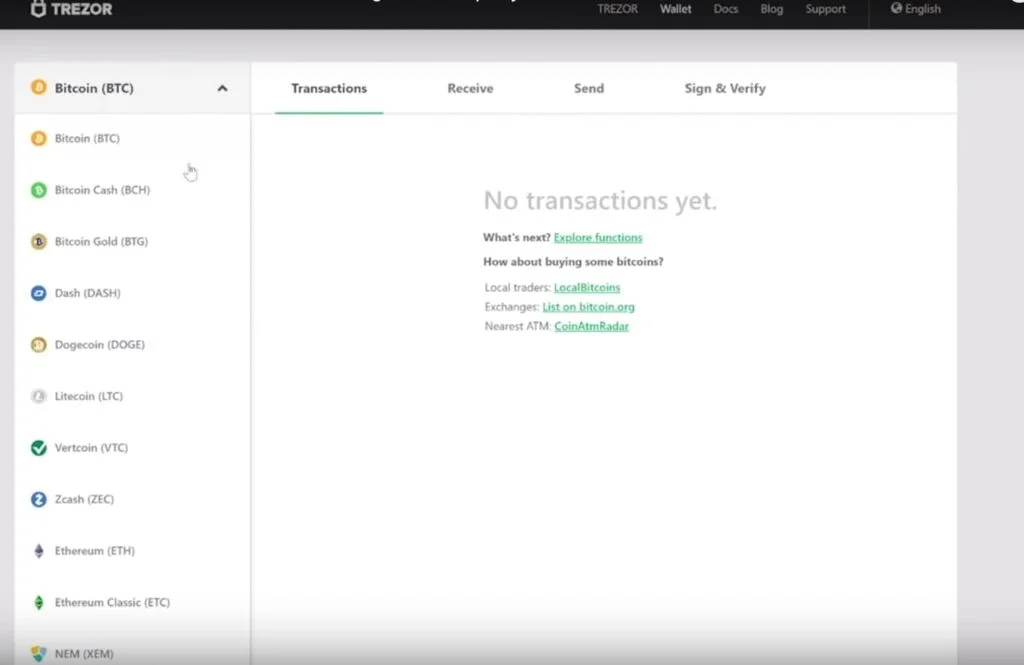
For ERC-20 token coins, you can use the Trezor with MyEtherWallet or MyCrypto.
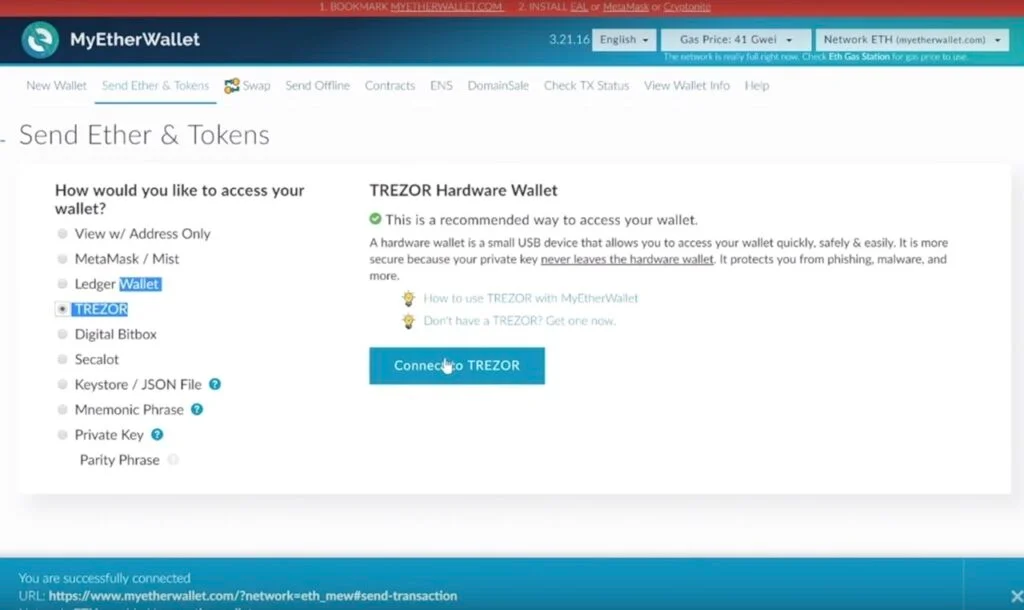
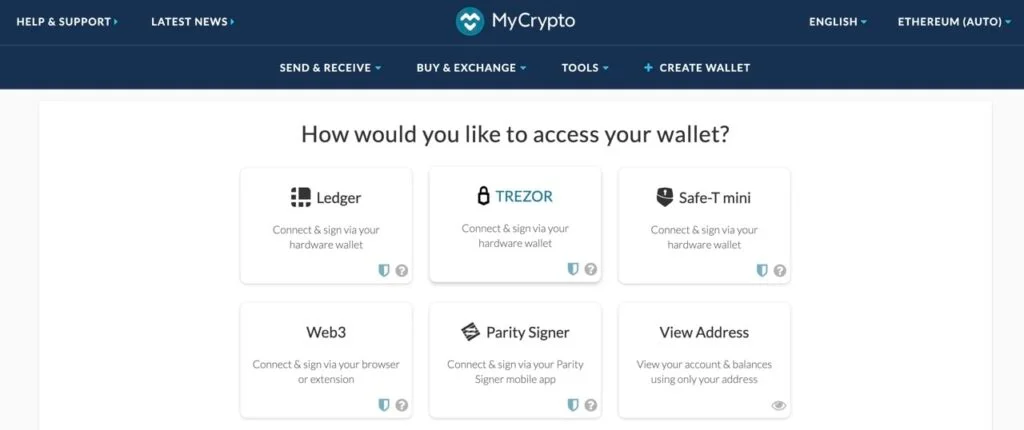
In general, transacting using the Trezor Model T is smooth and really secure.
To buy your Trezor Model T, click here.

Angela Wang
Angela loves cryptocurrency, technology that improves our lives...and food. Anything that merges these worlds together is even better.
